Creating a WordPress Dashboard Theme
by Jason Unger, Founder
Insights / Website Development /

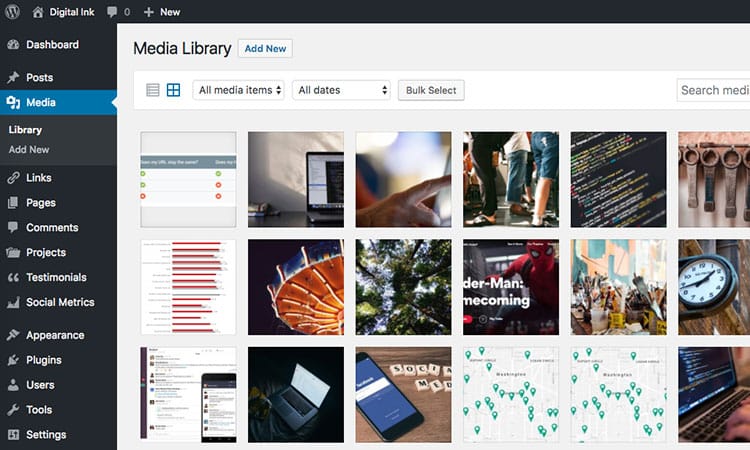
While most of the design customizations you tend to see with WordPress happen on the front-end of the site, it’s actually relatively easy to make changes to the Dashboard as well.
WordPress Dashboard themes, just like front-end themes, allow you to customize, re-format and style the administration area of your site. You can adjust as much or as little as you’d like.
Most of the time, when we’re creating a Dashboard theme, we’re not making a ton of changes — mostly minor updates, like color changes or hiding an option or two. These can all be updated in a stylesheet created just for the dashboard theme.
Here’s how you create a WordPress Dashboard theme.
Create a Plugin to Install the Dashboard Theme
In order to activate your new Dashboard theme, you need to create a plugin that tells WordPress to use your stylesheet.
It’s a very simple custom plugin, so don’t worry if you’ve never written one before.
Here’s an example of the plugin.
<?php
/*
Plugin Name: Digital Ink Dashboard Theme
Plugin URI: https://www.digital.ink
Description: Digital Ink Admin Theme
Author: Digital Ink, LLC
Version: 1.0
Author URI: https://www.digital.ink
*/

function my_admin_theme_style() {
wp_enqueue_style('my-admin-theme', plugins_url('wp-admin.css', __FILE__));
}
add_action('admin_enqueue_scripts', 'my_admin_theme_style');
add_action('login_enqueue_scripts', 'my_admin_theme_style');
?>
Basically, here’s what’s going on.
- We’re naming our plugin (and that we wrote it)
- We’re adding a function that says to use our new wp-admin.css stylesheet when the scripts for the admin and login areas are called.
- That’s it!
Save this PHP file and upload it to your wp-plugins folder. Activate it as you would any other plugin.
Styling Your WordPress Dashboard Theme
Then, create a new CSS file called wp-admin.css. Add in your styles, and upload it also to your wp-plugins folder.
There’s plenty of styles you can adjust — simply View Source when you’re in the Dashboard to see what you can work with — but here’s a few, courtesy of the WordPress Codex:
#wphead
The main title of the admin panel. Used to display the name of the blog and a link to View Site.
#adminmenu ul
The main level navigation bar, for links: Dashboard, Write, Manage, etc.
#adminmenu2 ul
The sub level navigation bar, for links (example: under Manage: Posts, Pages, Categories).
.wrap
The basic wrapper for all content in the admin panel, set in a <div>.
#zeitgeist
The sidebar on the Dashboard displaying Latest Activity and Blog Stats.
#footer
The footer at the bottom, with WordPress logo, version number, and help links.
.wrap h2
Individual Page headers for the various subpanels, like General Options.
Once you’ve got your stylesheet created and uploaded, head into your Dashboard and activate your new plugin. You should notice the style changes take effect immediately.
There’s a lot more you can do, if you’re so inclined. There’s also a ton of plugins already built that offer more advanced Dashboard theme functionality. Check out a couple of these great resources for more:
- Creating Admin Themes (WordPress Codex)
- 7 Clean and Inspiring WordPress Admin Themes (WPMU Dev)
- Customizing the WordPress Admin – The Dashboard (WPtuts+)


